I recently bought an Synylogy NAS DS1821+ (covered here) and upgraded it to 32GB ram from default 4GBs so I wanted to test out it’s virtualization capabilities. First I started with PiHole from their docker containter list and it worked perfectly. Basically click through experience with no configuration required.
Having something turned on 24/7 motivated me to do more so I revived my VPN network and now I want my NAS to host Splunk server to take care of all my logs from all my machines connected to this network. And this is where fun started.
Installing Ubuntu
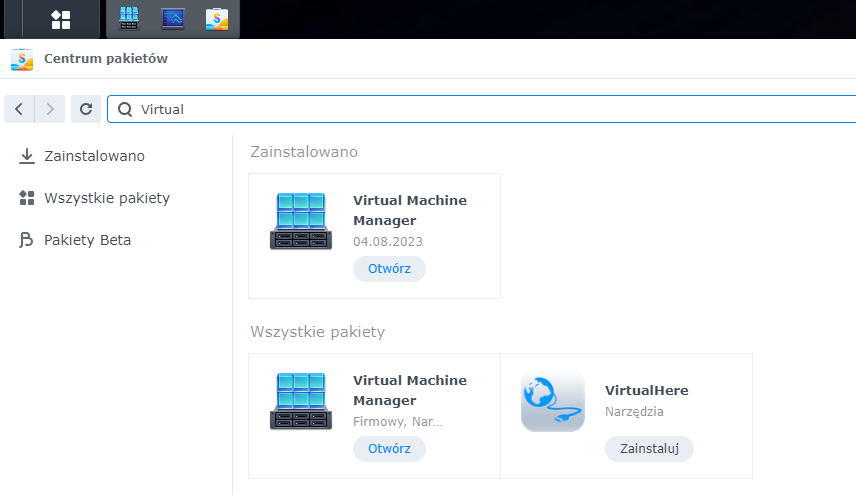
It would seem to be straightforward. Install their VM Manager from packet store.
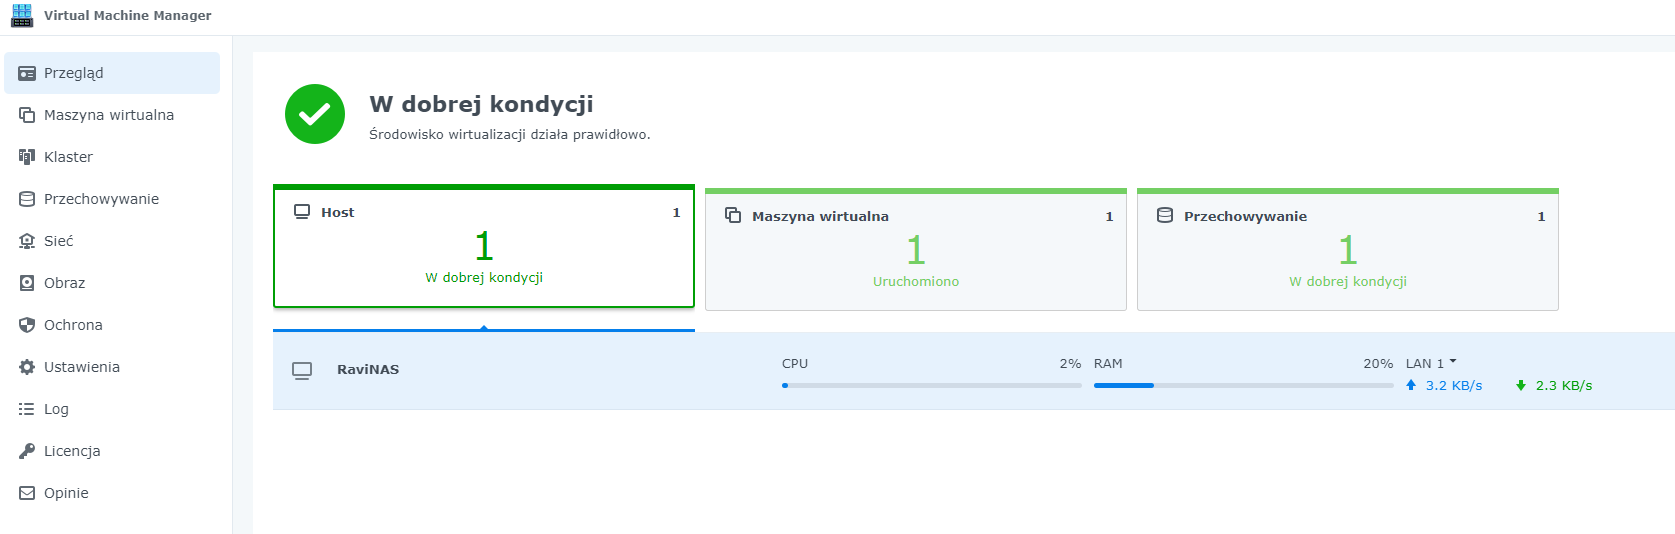
Set it all up and create a host object.
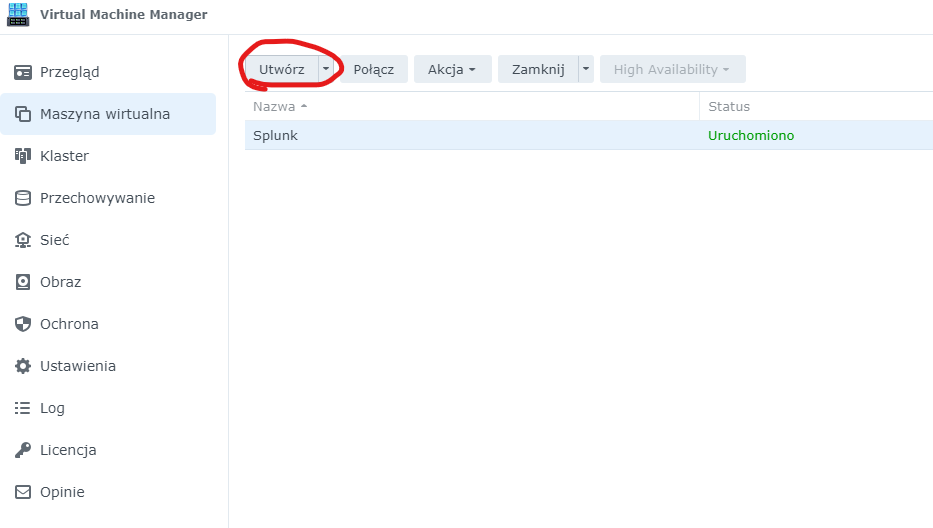
And finally start setting up the VM. Step by step here.
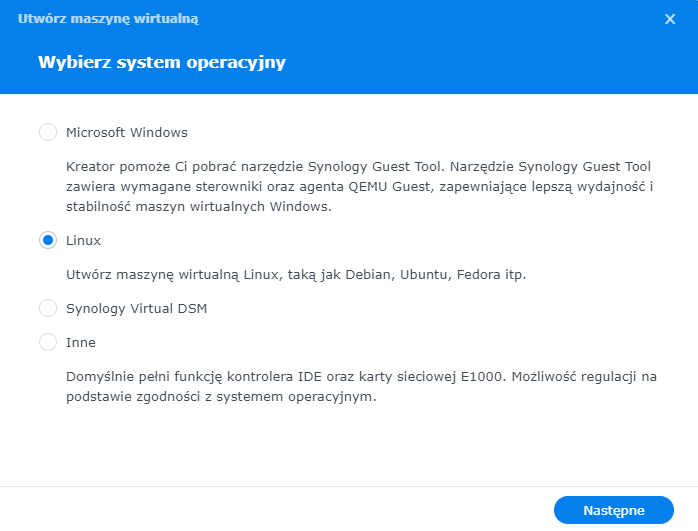
Pick your OS family
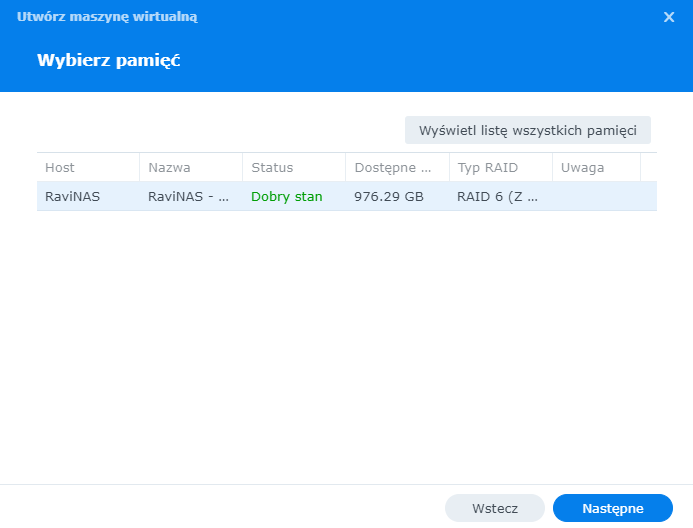
Pick storage pool that you created when setting up VM Host
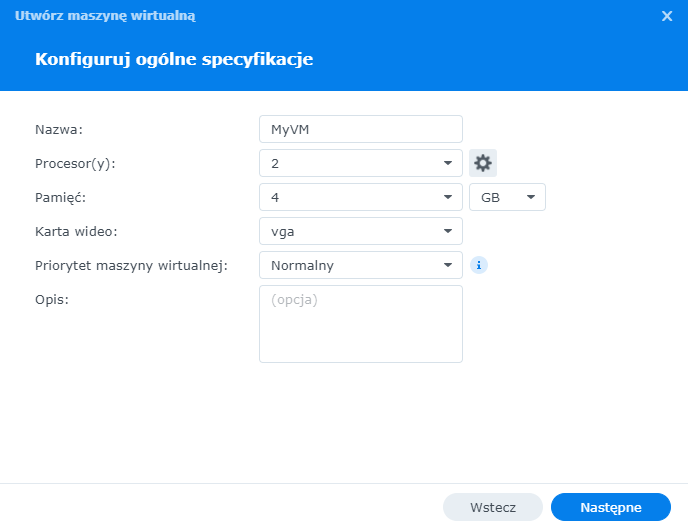
Start setting up our VM with Name, No. of cores and RAM. For Ubuntu also change the graphics card from vmvga to vga. In my case and in this case installation would get stuck after kernel ini. Priority is up to you and description as well.
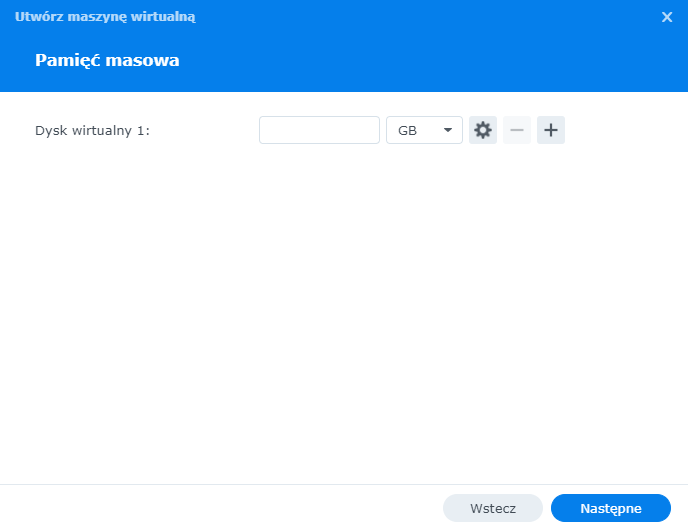
Then assign disk space.
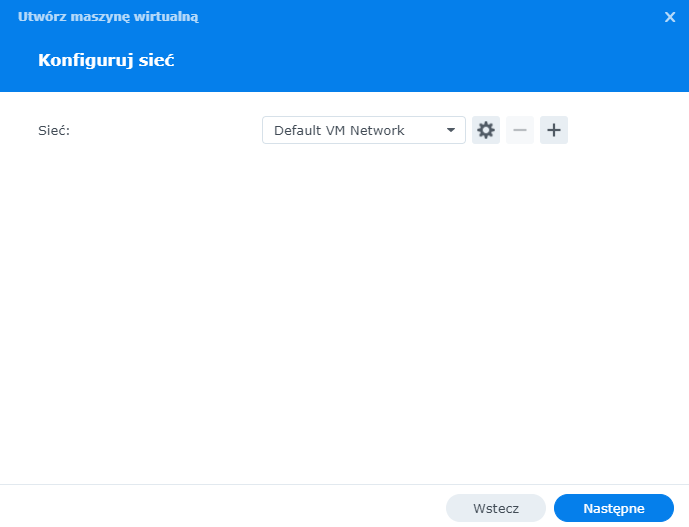
Network…
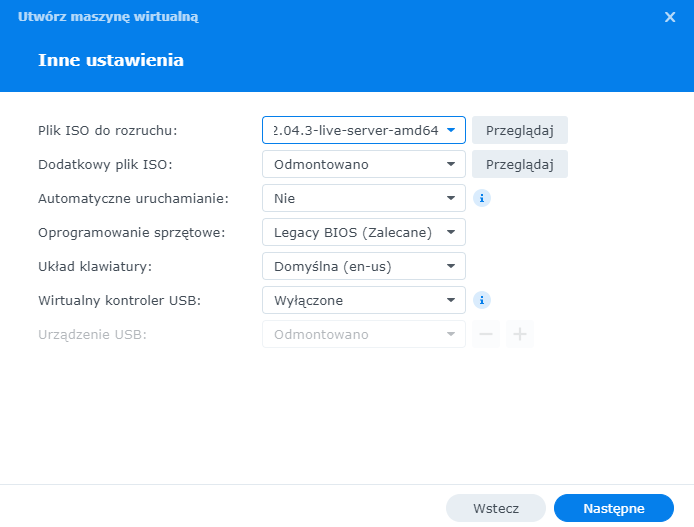
And finally comes the iso. You can either upload it from your PC or prepare in advance in Image section of VM maganer. (ISO Preparation)
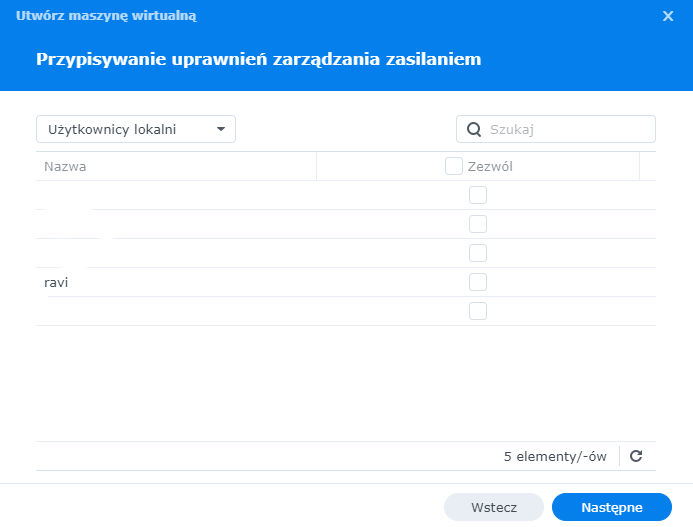
Pick your user
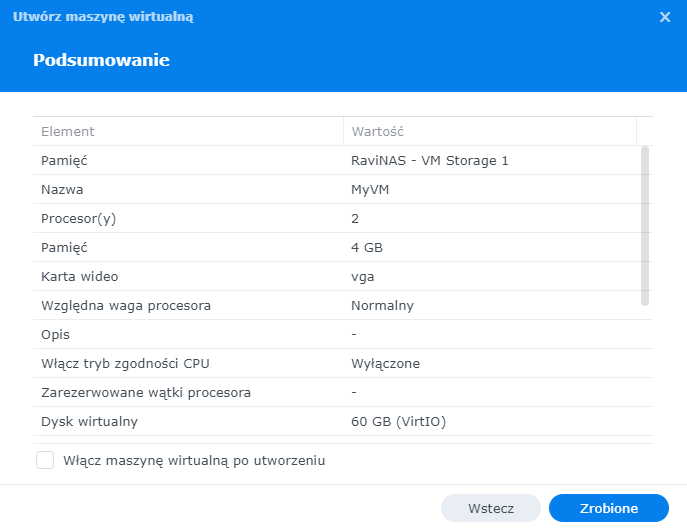
Aaaaand almost done. You can either pick if you want machine to be started after creation or if you want to keep it for yourself.
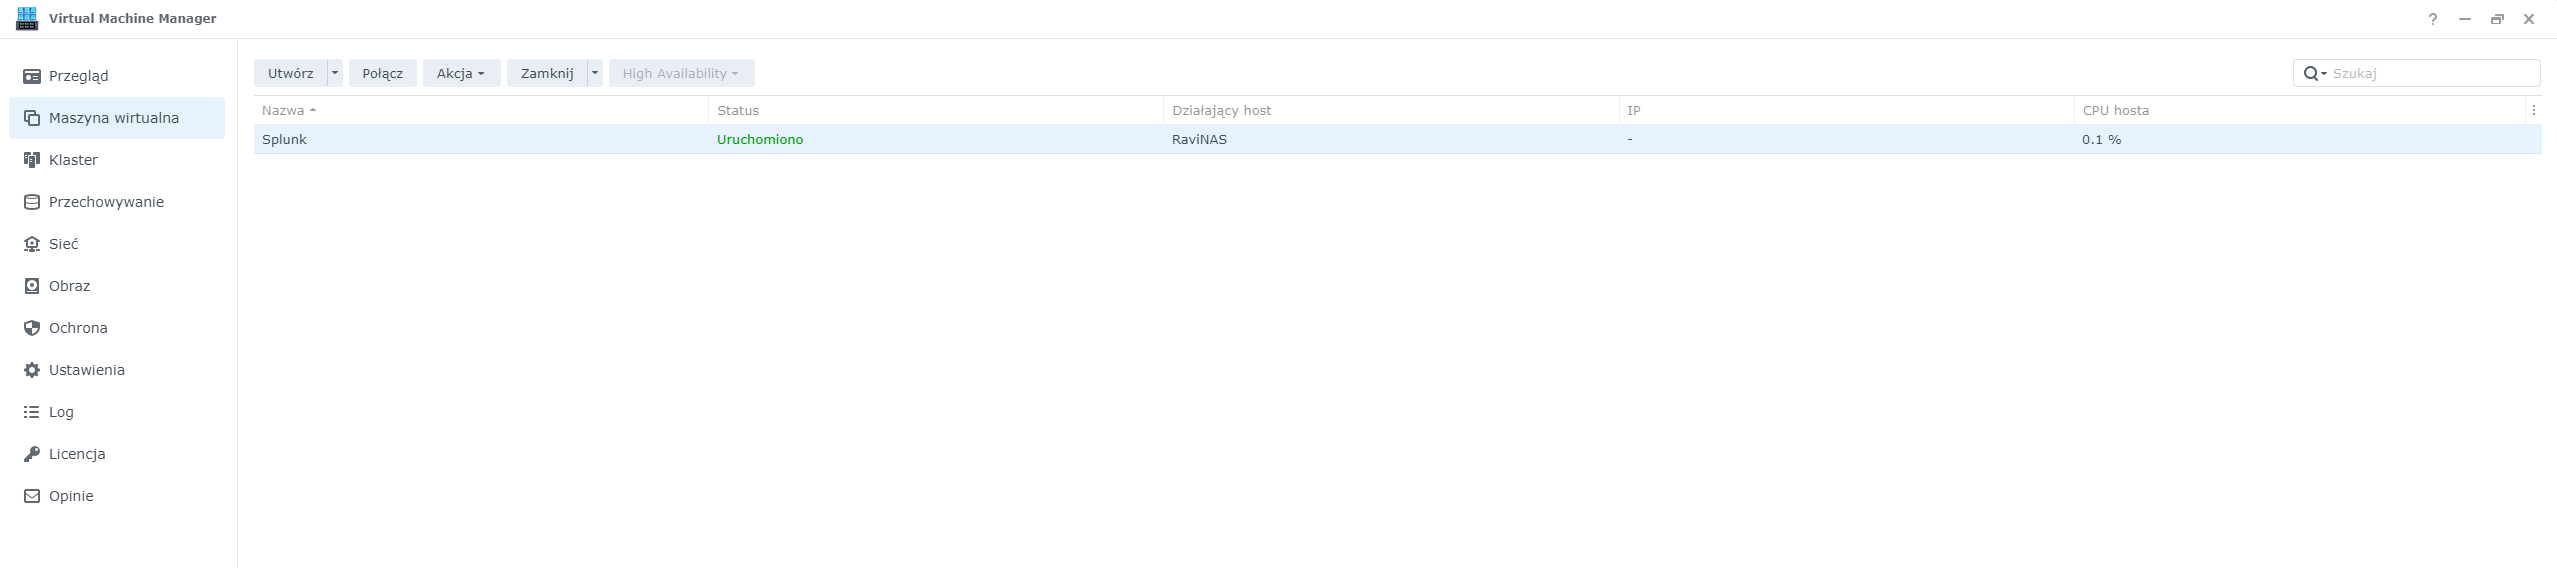
When done, new VM will greet you on the list
After all of that you can click Connect from the top bar and it will spawn you a new browser tab with Ubuntu in it.
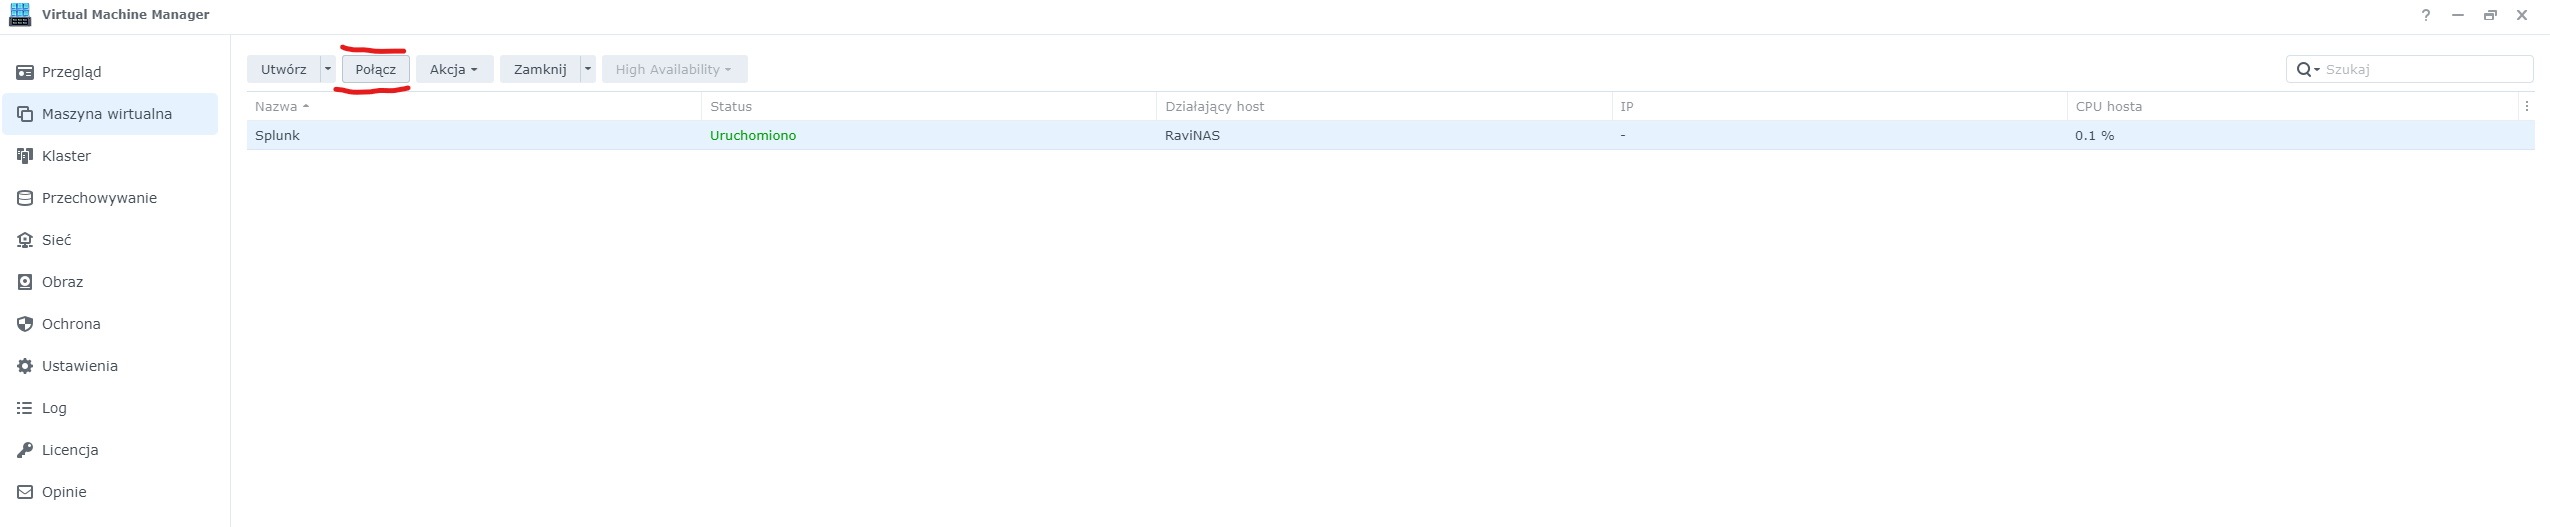
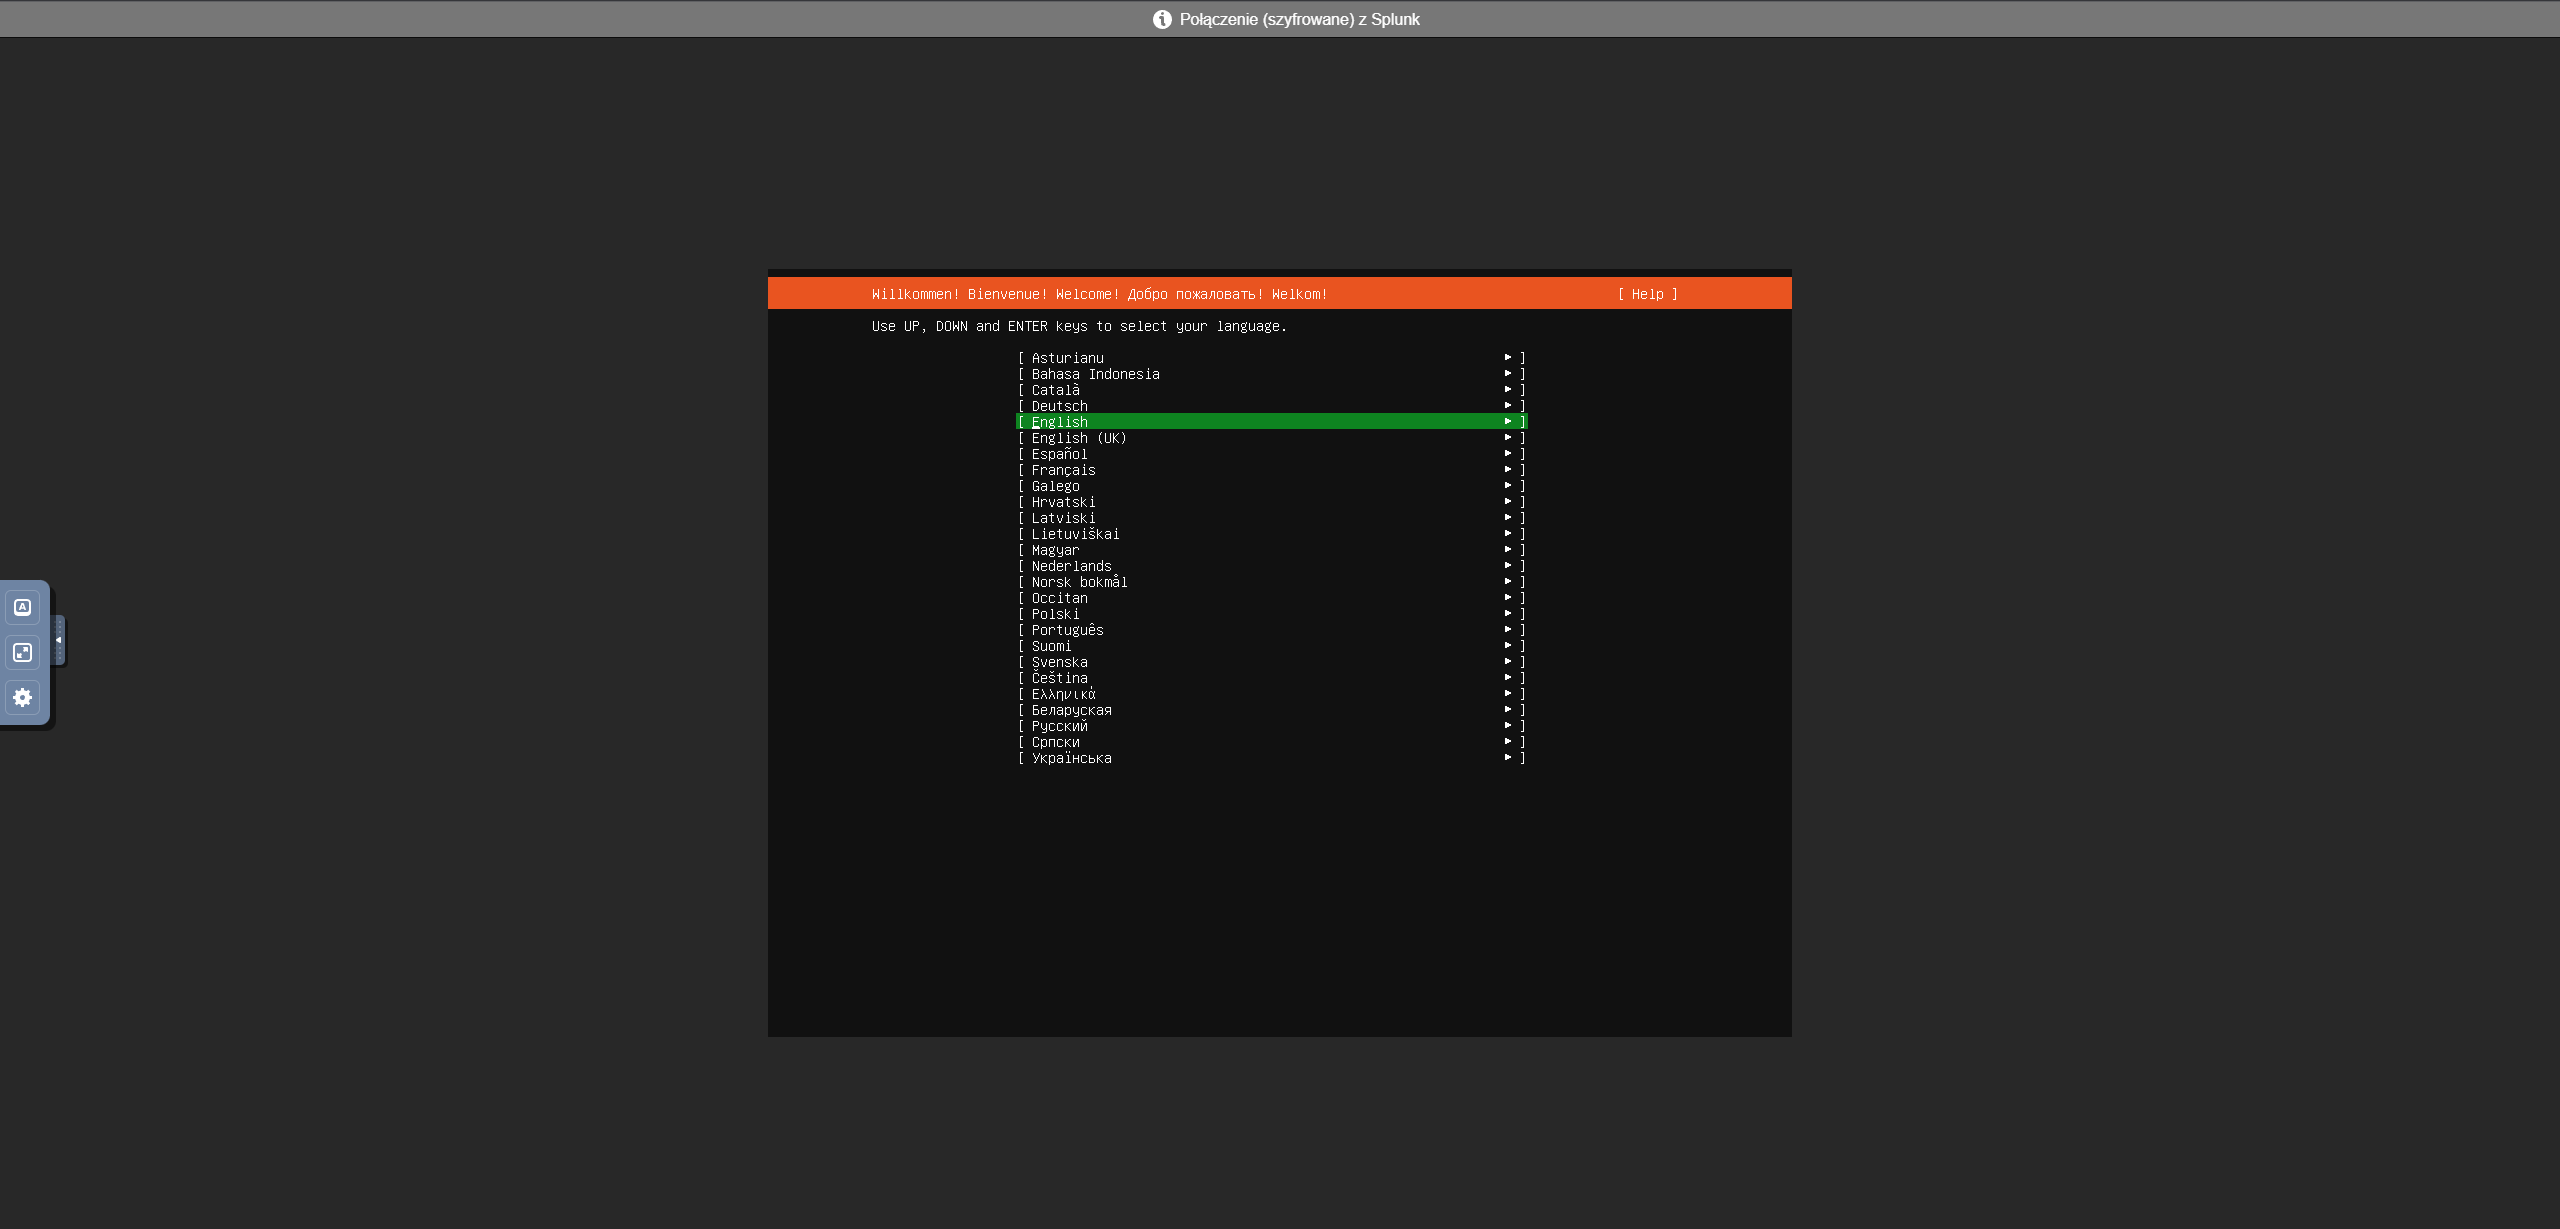
And that’s all what ther’s to it. Now you can follow the installer. The only issue in my case was wrong graphic card so remember. If your does not boot then change it to VGA.
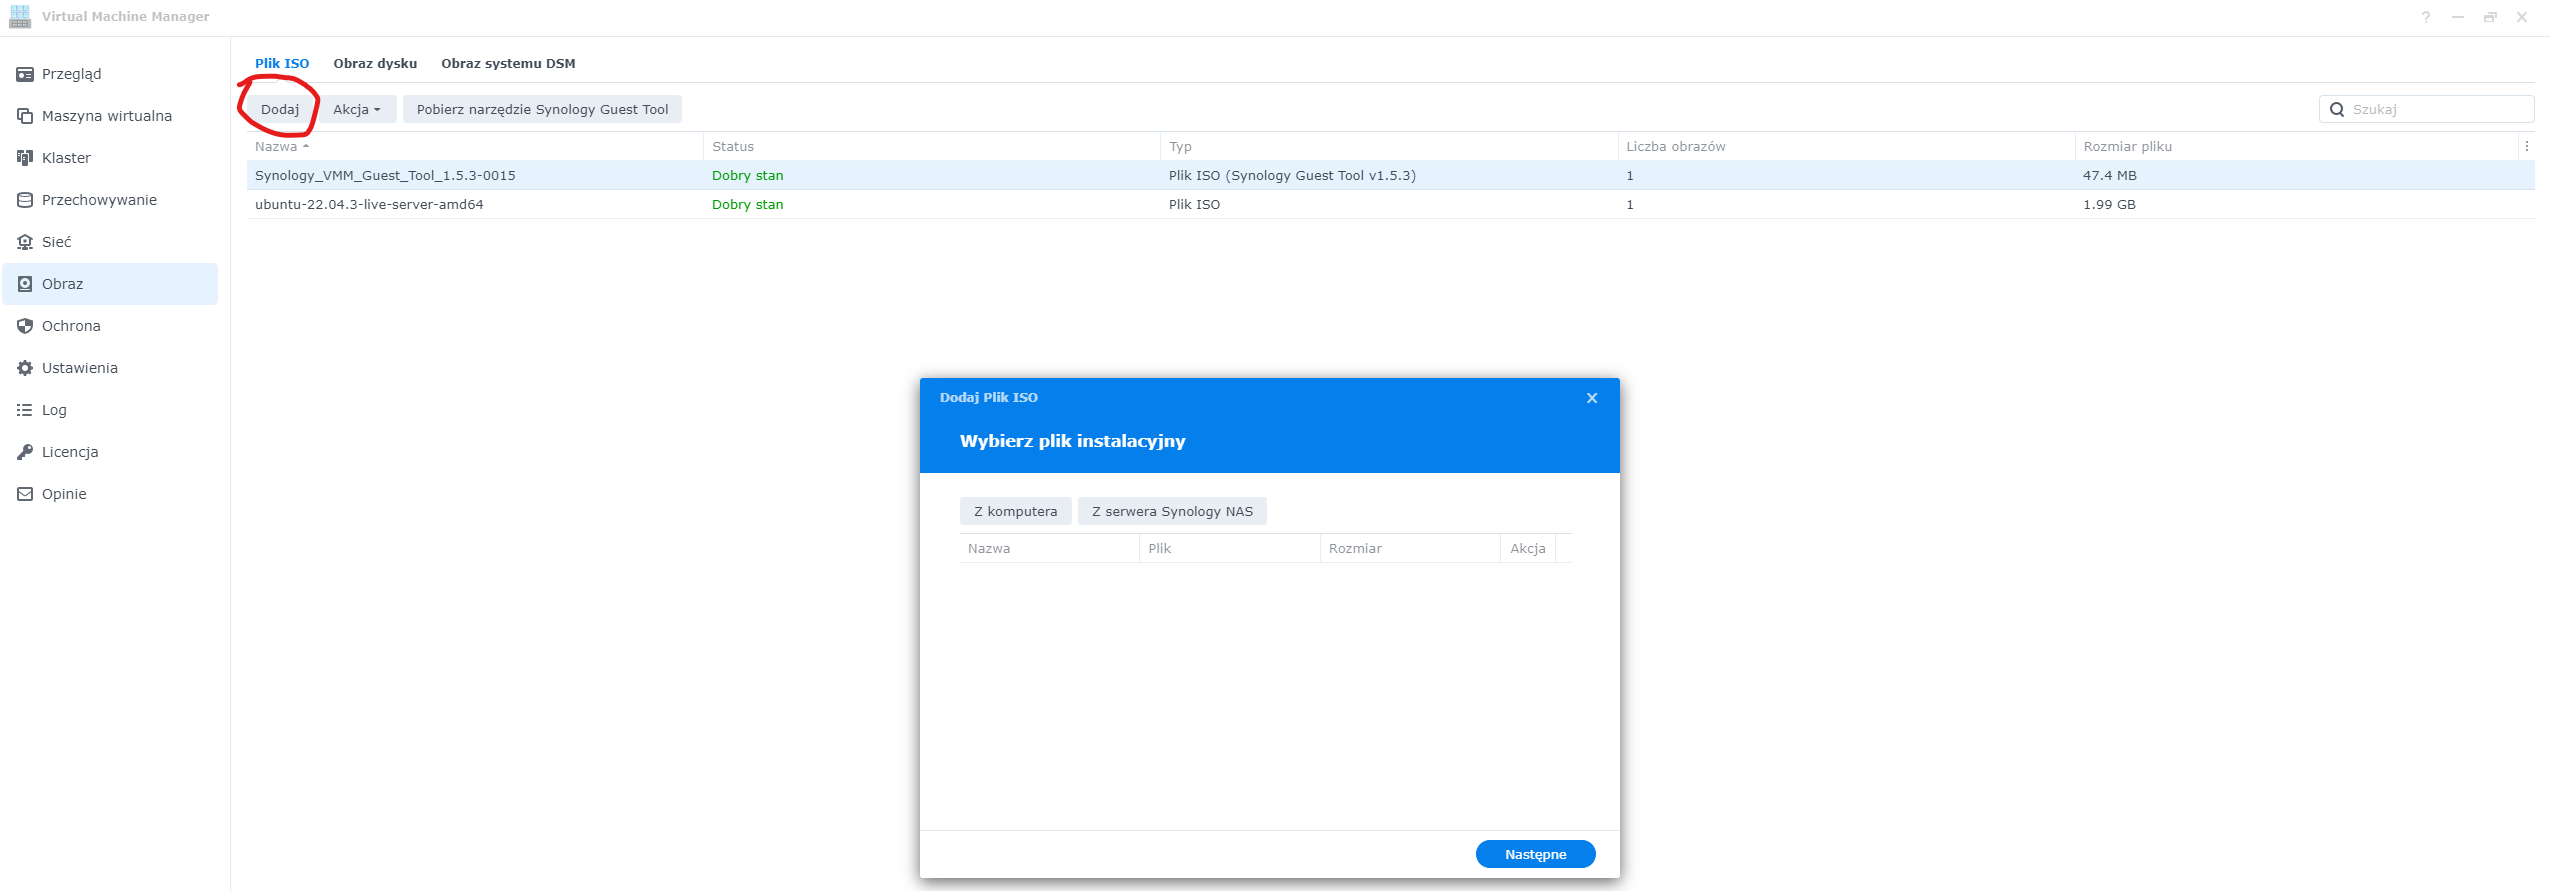
ISO Preparation
Regarding that ISO preparation I mentioned earlier. Go to the Image section of VM Manager, click Add and select where your ISO is.
Links to products are my referral links to my Amazon Associate Program.